|
UNM - Dept. of Fine Arts.
Prof. Clarence Cruz from Ohkay Owingeh Pueblo Fall 2018 |

|
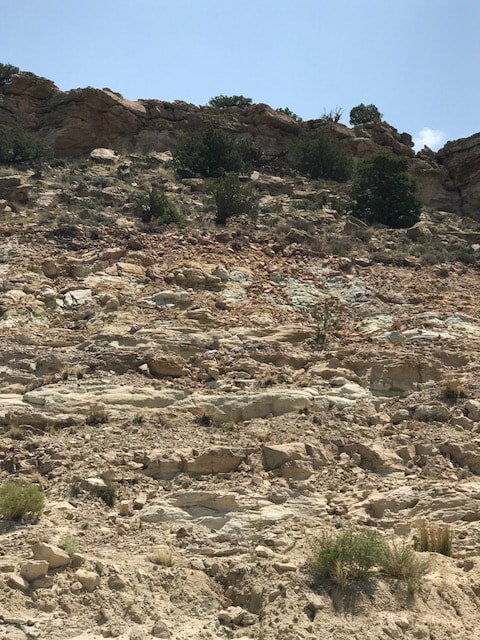
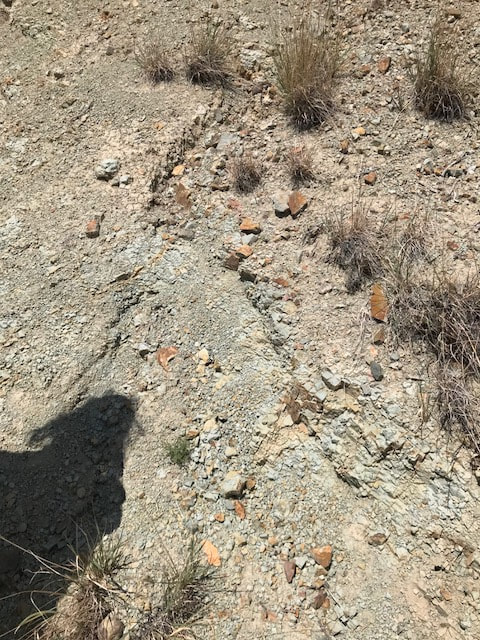
collecting earth's pigments
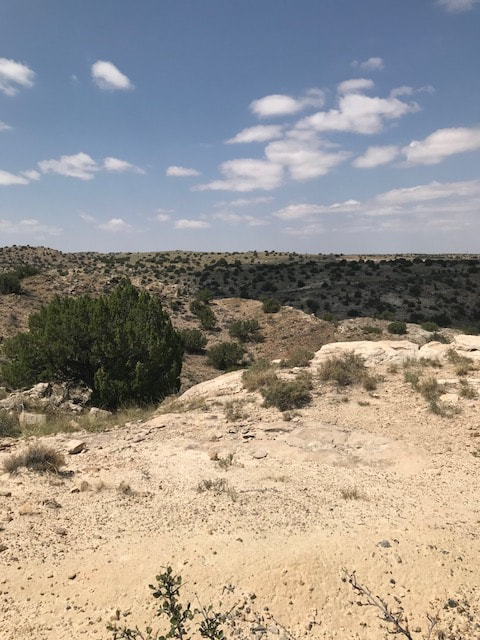
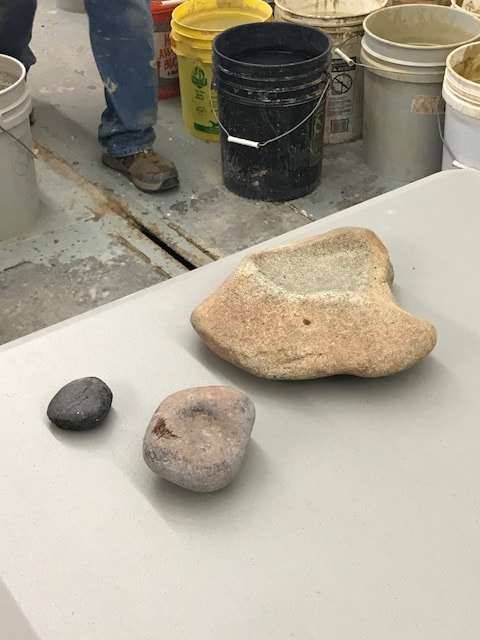
FINDING ROCKS
- Searching for 'soft' rocks with different color hues.
|
Basic types and Subclasses
|
- When you find a 'good' place - Bless Mother Earth; thank her and spread corn flour, ask her to make good pots with her blessing.
|
|
|

|
- Test pigment by wetting the rock and scraping it onto a hard rock - if it yields a colored dust/paste, it's good.
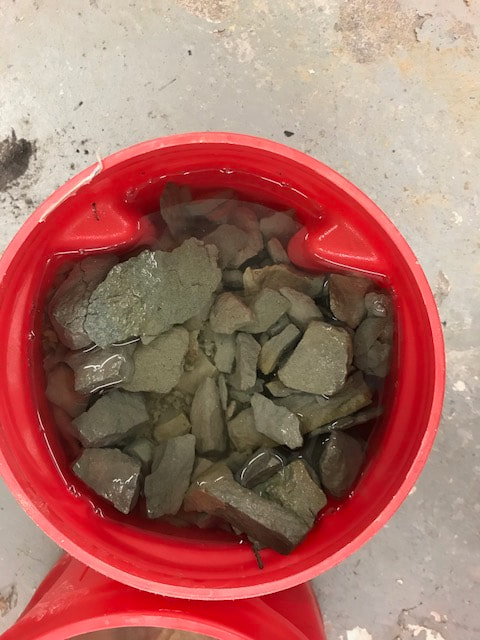
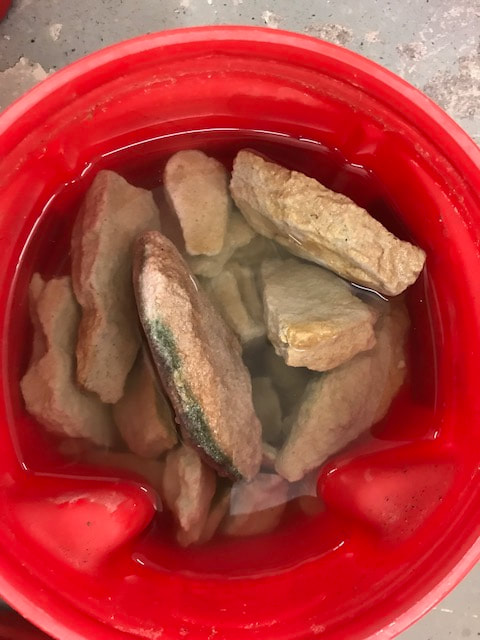
- Collect different colors in different bags.
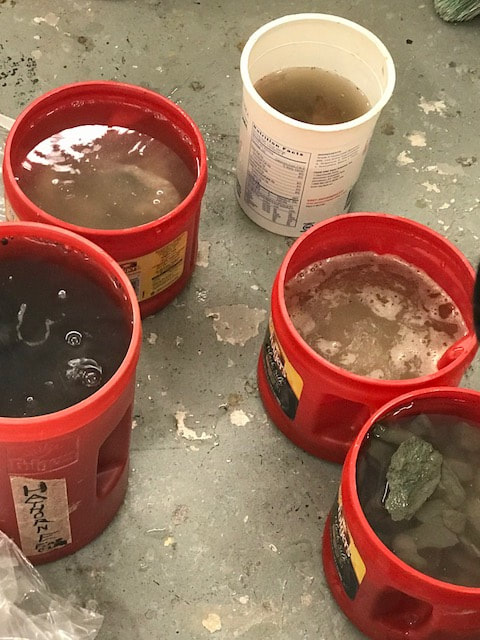
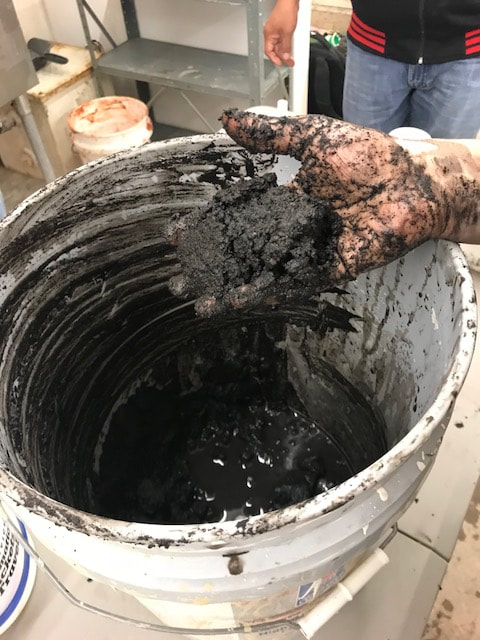
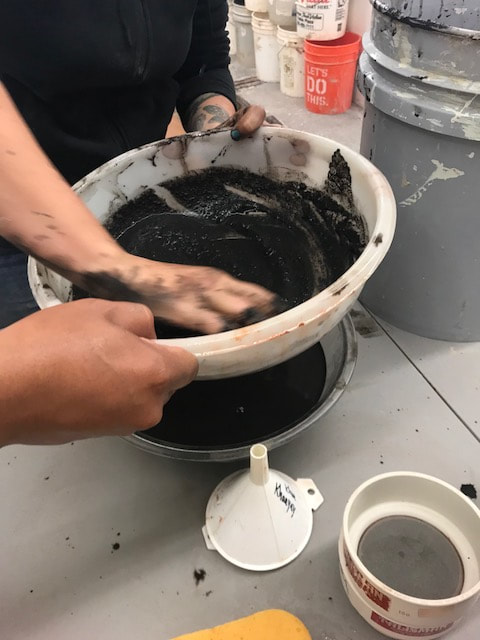
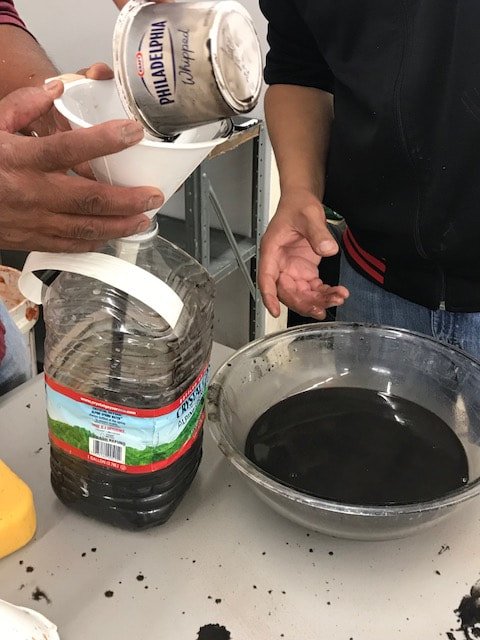
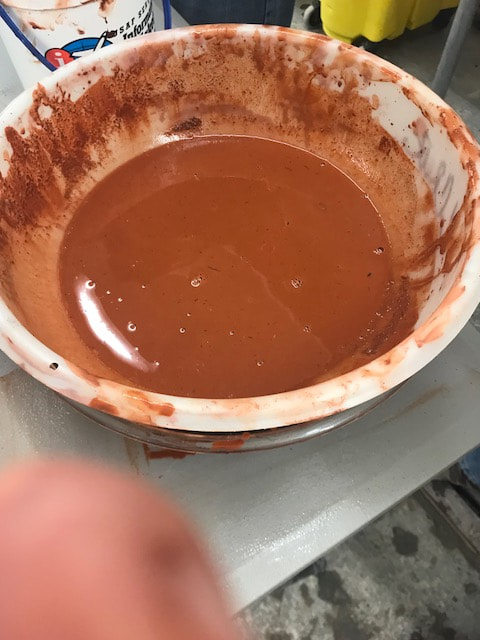
making pigments
PIGMENT PASTE
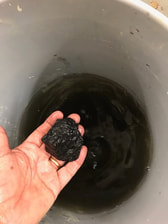
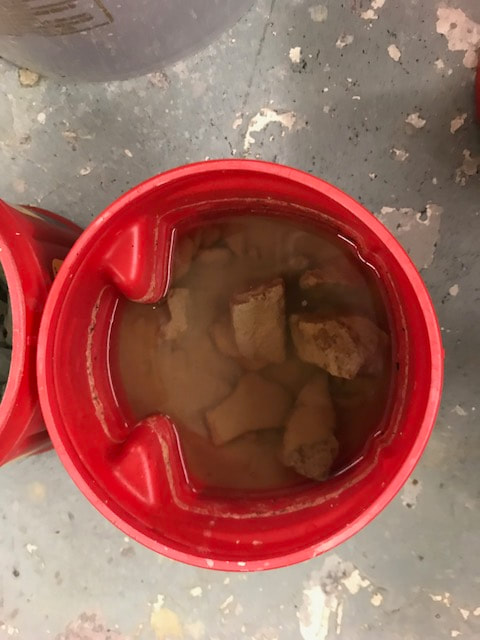
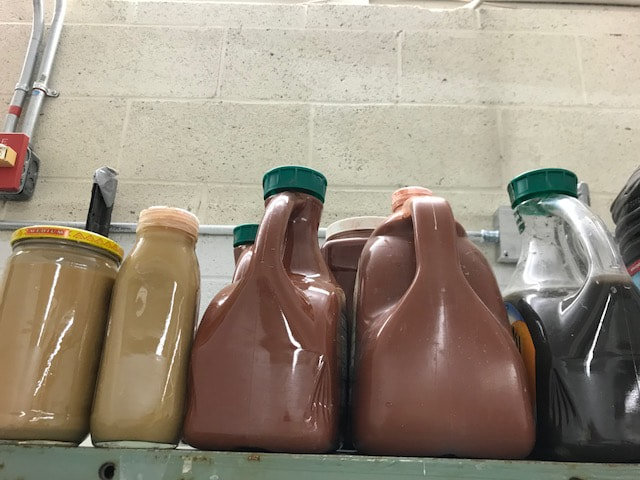
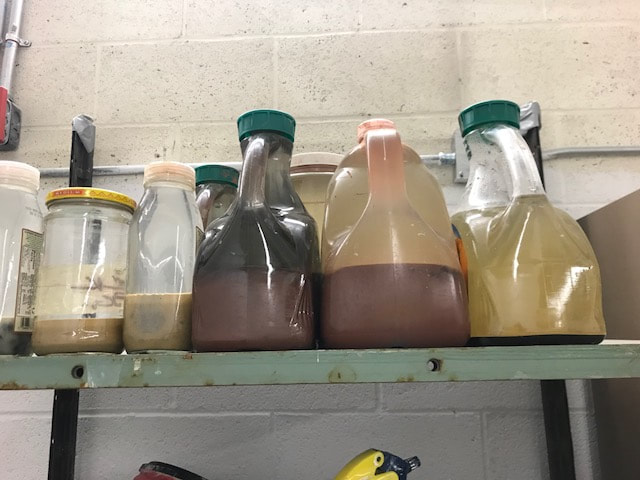
- Soak the rocks in water for minimum of a week or longer. Each color in a separate container.
|
|
|
|
|
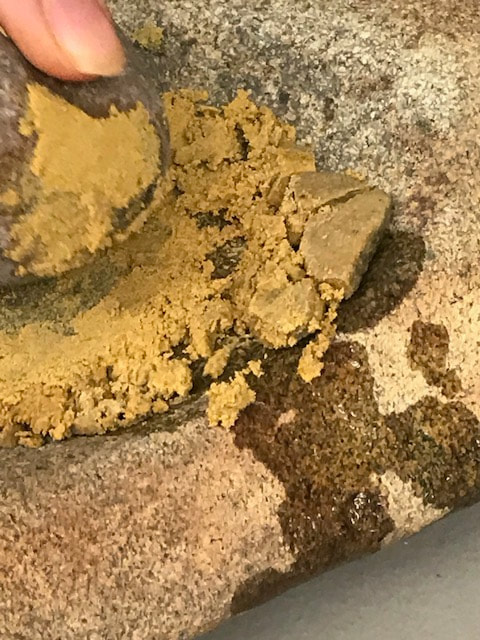
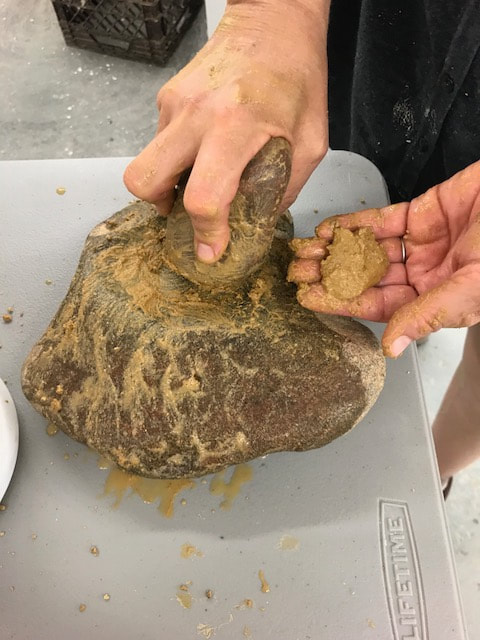
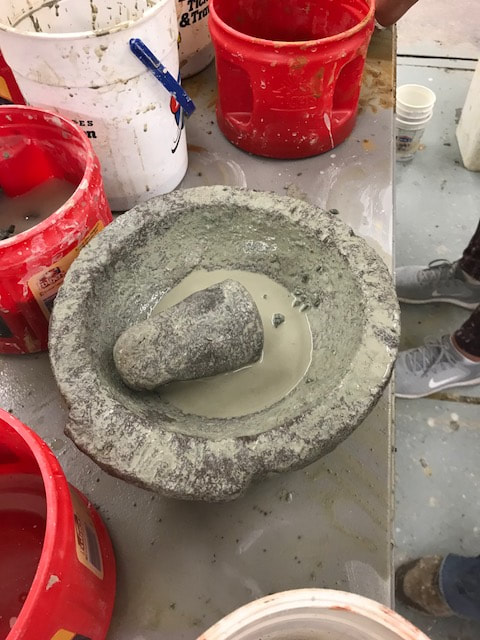
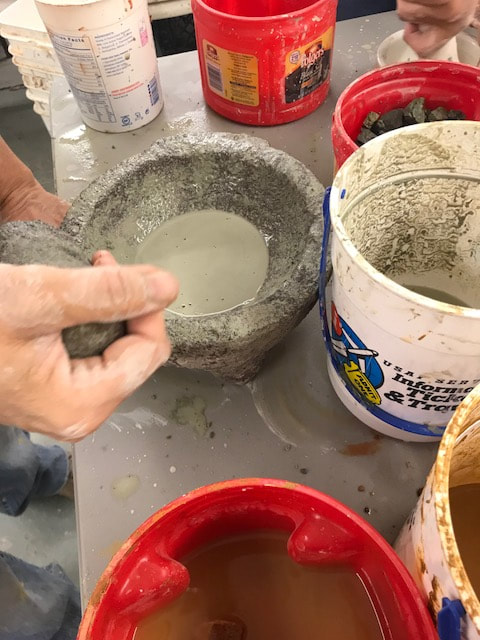
- Depending on the hardness of the rock, follow either of these processes:
- Grind/pulverize the rock into small particles with either a pestle and mortar or between smooth flat rocks. Add water to make pastes.
- Break down the rock into a paste in the water by hand.
|
|
|
|
|
|
|
|
|
|
|

|
|
- Sieve the paste through small meshes and with water.
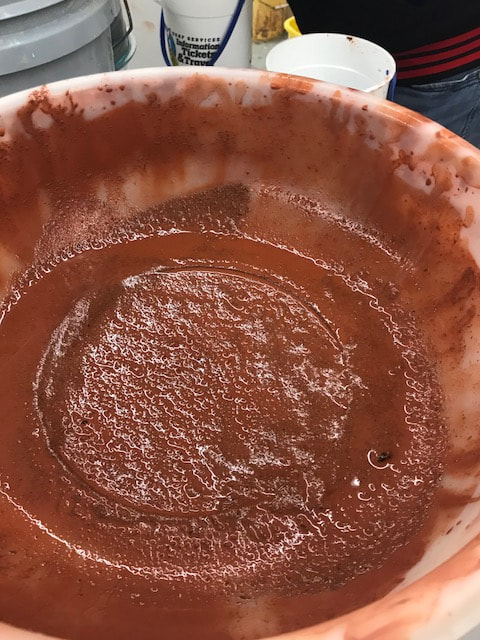
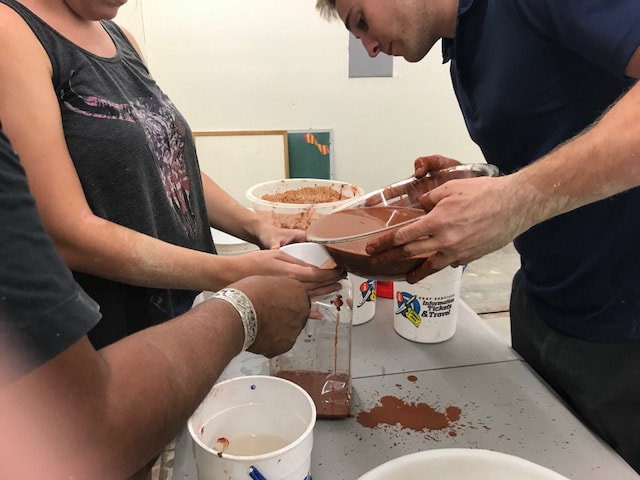
- Collect sieved 'juices' and leave to stand for a couple of weeks or more to settle out - note keep colors separate!
- After a week or so the pigment settles to the bottom and clear water comes to the top - Pour off the water, leaving a little to keep diluted.
- Shake up pigment for use.
|
|
|

|
|
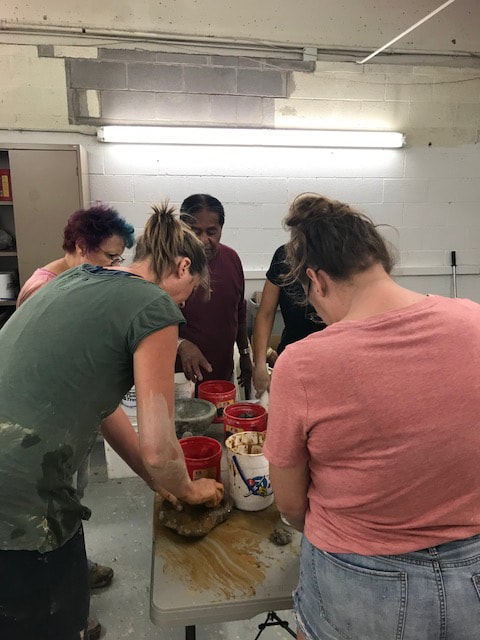
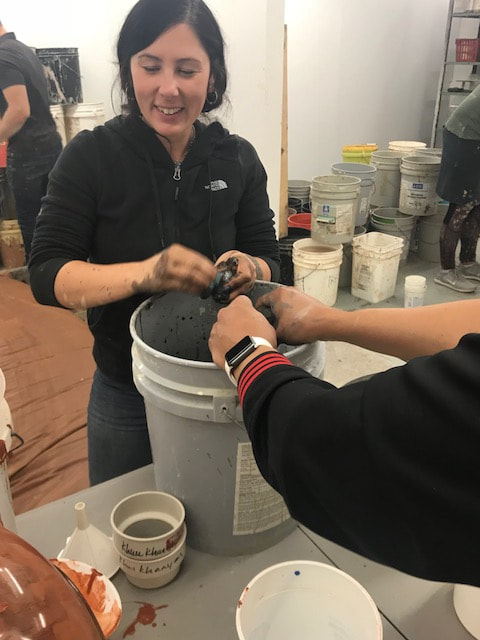
MAKING PUKIS
EQUIPMENT:
- SMOOTH INFLATABLE PLASTIC BALL: Sized to suit the size of bowl you intend to make.
- PLASTER OF PARIS POWDER: From NM clay or hardware store.
- 3 X 1/4 gallon PLASTIC BUCKETS:
- Holding water
- A stand for the ball
- Mixing plaster
- NEWSPAPER
- NEEDLE TOOL
- DUST MASK when dealing with plaster in powder form.
- LATEX GLOVE
- TABLE TOP BANDING WHEEL
- Set up your workspace, covering the table top and banding wheel with newspaper
- Check ball is fully inflated, and place on open end of one pot, on top of banding wheel.
- Have Bucket of water to one side, bucket of plaster powder in front and needle tool, and working hand gloved.
- Pour water into the power and start mixing immediately. Add more water or powder as necessary. working quickly - aim to get a thick runny paste. Be fairly quick as it starts to thicken quickly.
- Take handfuls of paste and pour onto top, center of ball. It starts to run down and thicken fairly quickly - keep pouring on top and ensure it drips all around the surface of the ball.
- With a wetted hand you can smooth the plaster exterior - be careful not to scrape it away.
- While the plaster is still damp, set the needle tool at an angle to the ball and turn the wheel, engraving a ring around the ball. short of the mid line of the ball. Incise all the way to the ball surface (do not puncture the ball.
- Then make vertical lines from the ring down the sides of the ball - about 1" distance ( this makes it easier to par away excess plaster)
- Wait a couple of minutes fro the plaster to form a fairly hard set.
- pare away lower strips of plaster and leave cap to fully harden.
- Gently press ball around the bowl to release it from the plaster.
- once separated - leave to dry further and sand the edges.
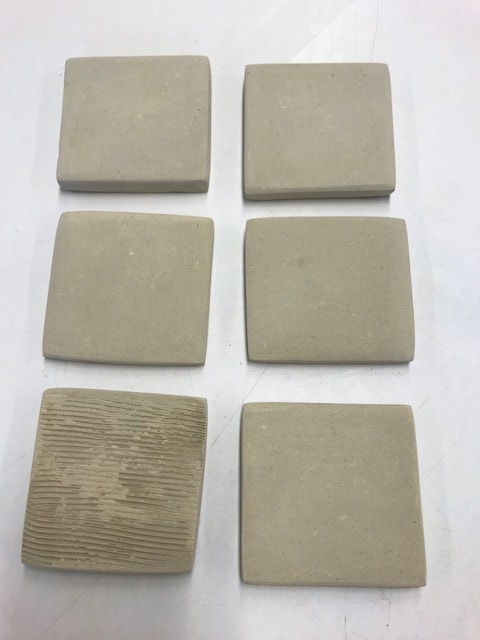
TEST TILES
|
|
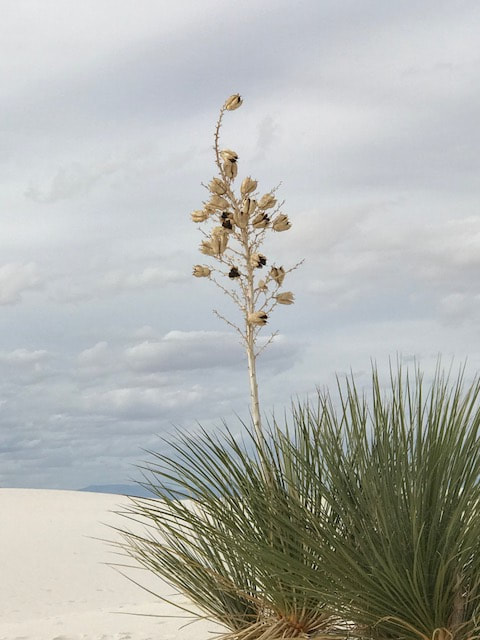
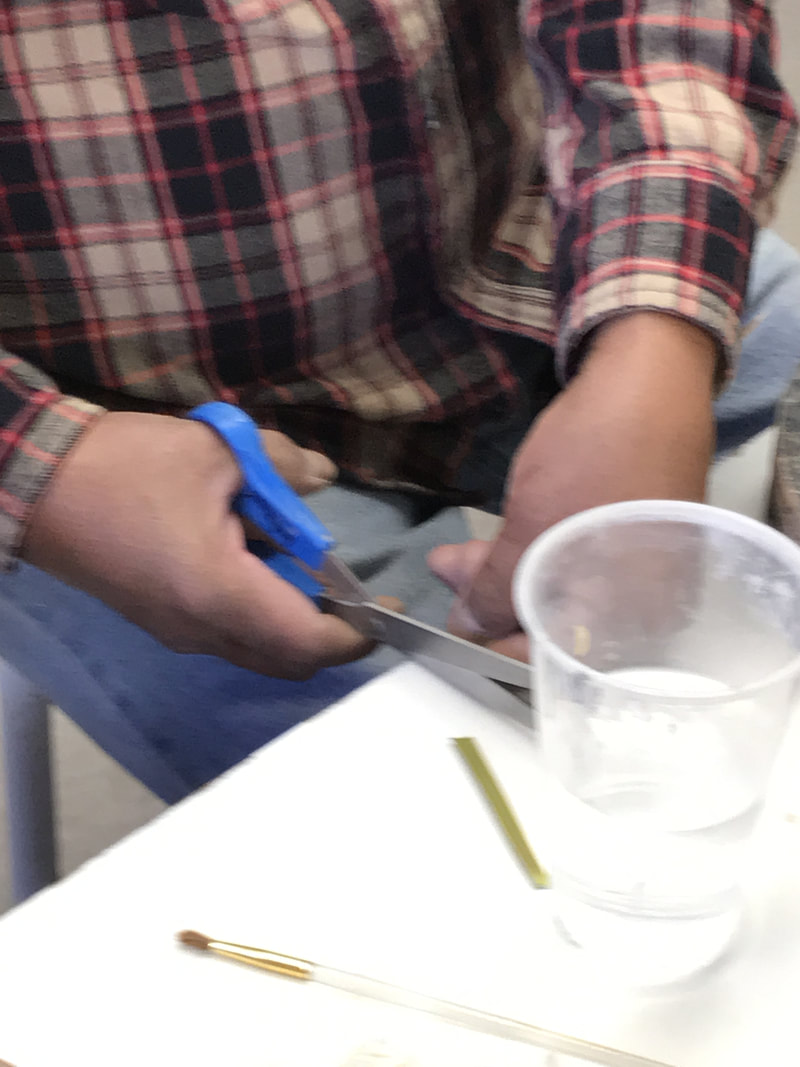
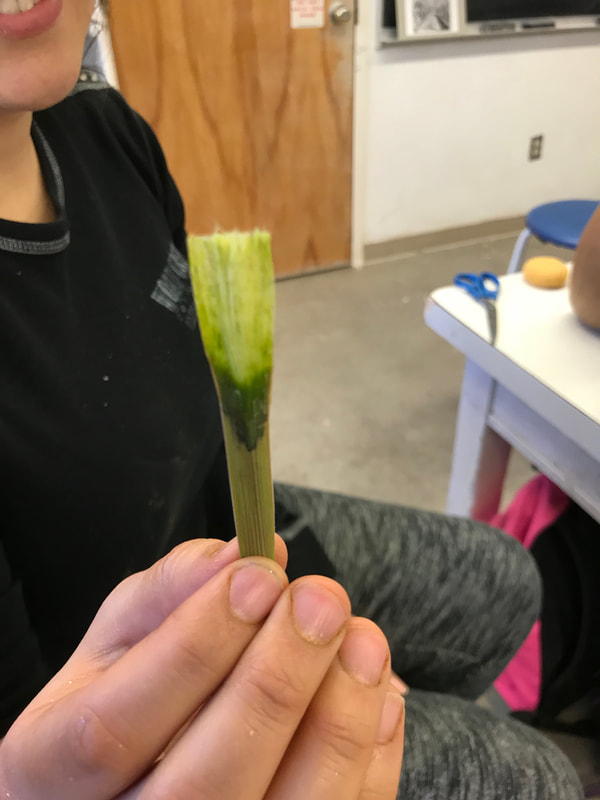
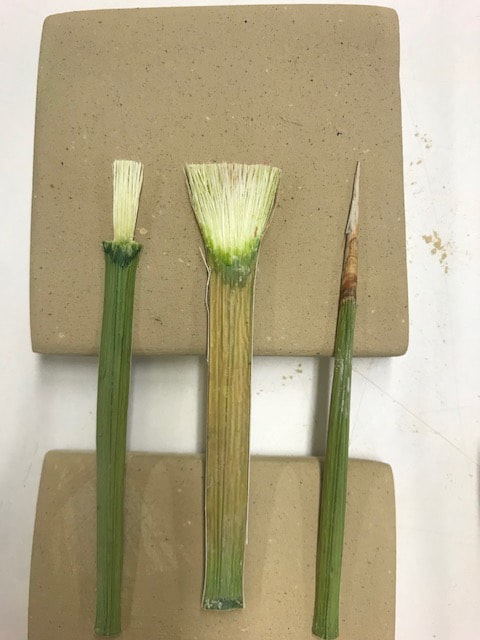
yucca paintbrushes
- Using a native yucca leaf (the Soaptree yucca Yucca elatais native to NM and the States national plant).
- Cut it into the desired lengths, retaining the point for single brush strokes
- Chew the end on the back molars to make it malleable and separate the fibers
- Pull forward through the front teeth to strip the pit, and spit it out..
- Let it dry and cut it to shape. Remove each side of 'bristles' to get desired width of brush.
|
|

|
|
|
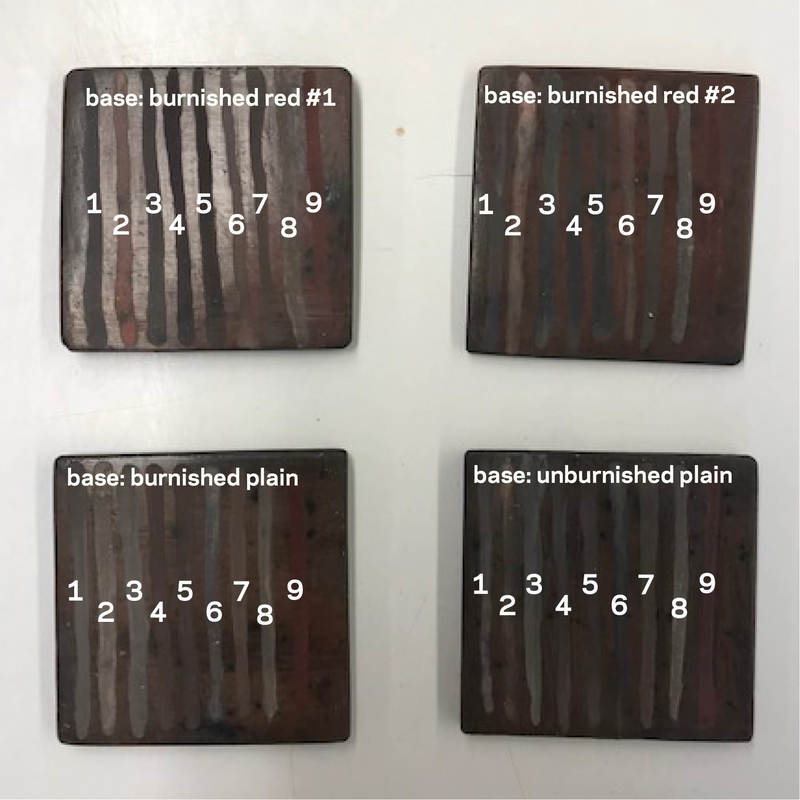
color tests
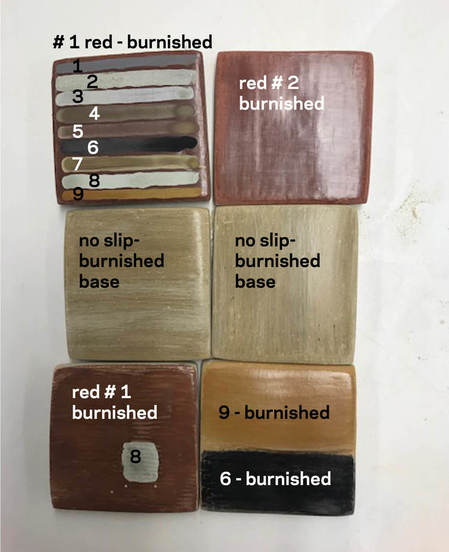
- Once the tiles are dried, set them up to be treated in different ways:
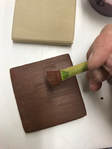
- TILE 1: Paint with a base stain red # 1 and burnish, followed by stripes of each different pigment.
- TILE 2: Paint with a base stain red #2 and burnish, followed by stripes if each different pigment.
- TILE 3: Burnished un stained tile, followed by stripes if each different pigment.
- TILE 4: Un burnished, un stained tile, followed by stripes if each different pigment.

|
|
|
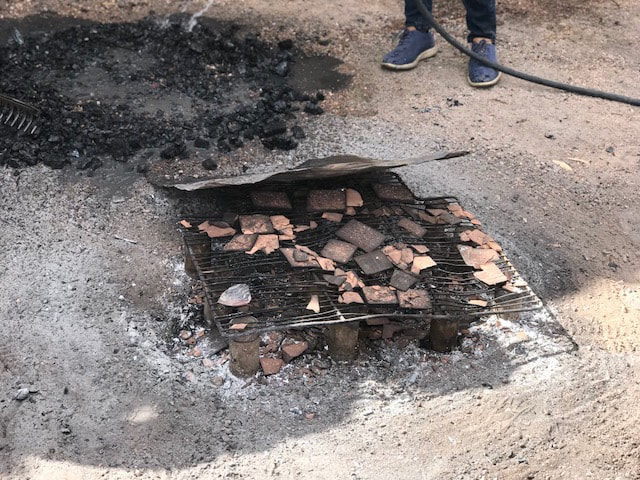
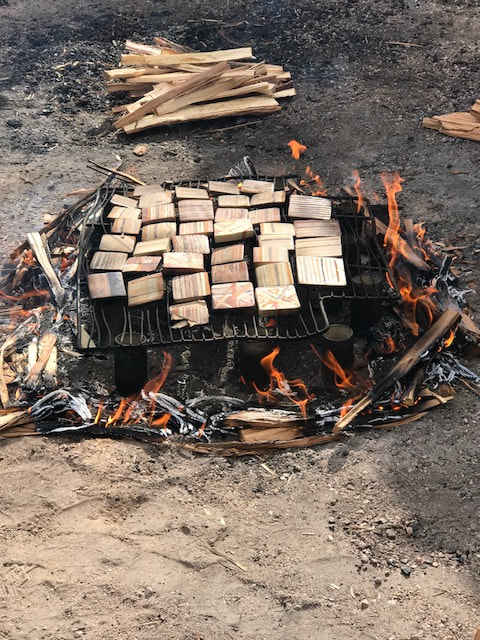
firing the tiles
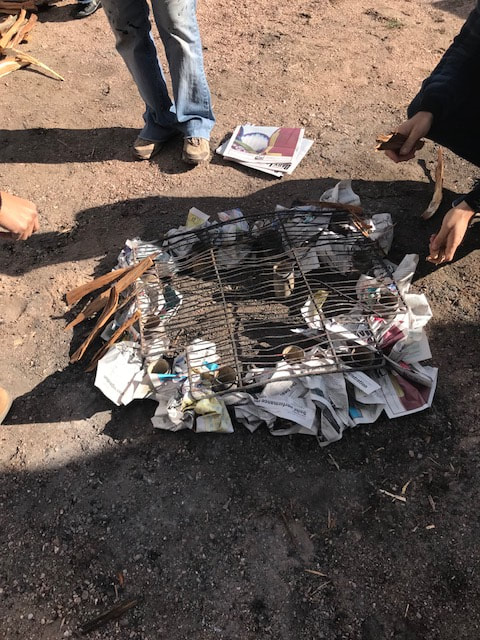
1 set metal grid off ground with spacer steel tubes
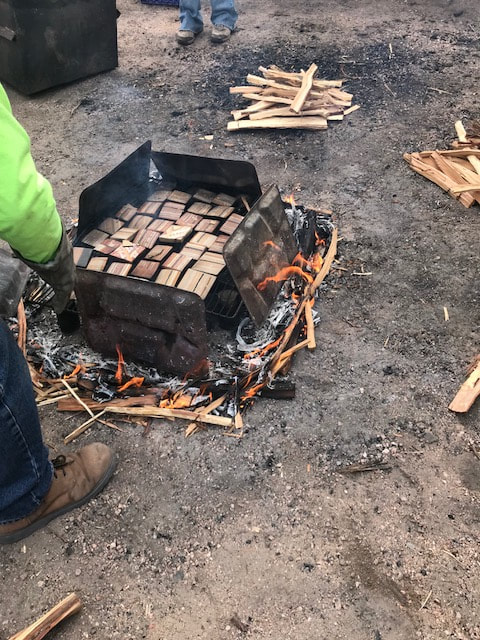
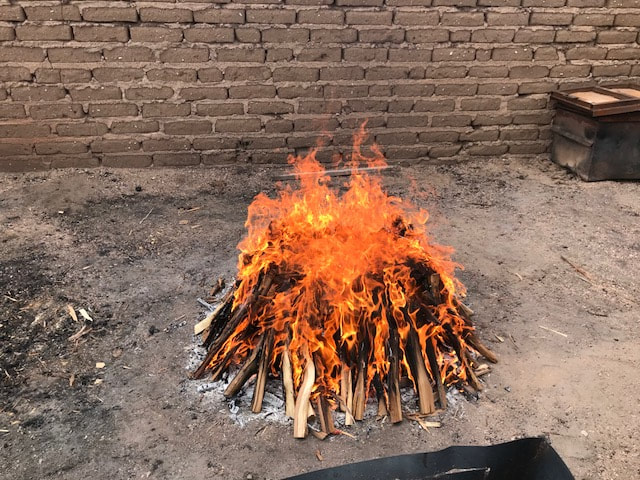
As fire ignites - shield tiles from flames. have gaps in shield to maintain air flow below tiles
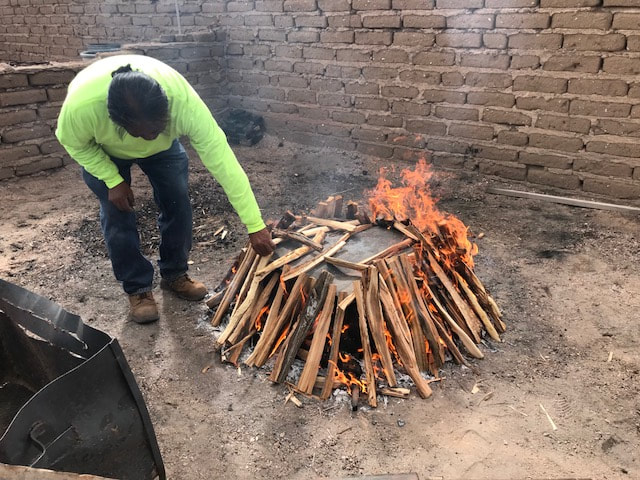
allow kindling to ignite and burn up.
shield fire from wind gusts
|
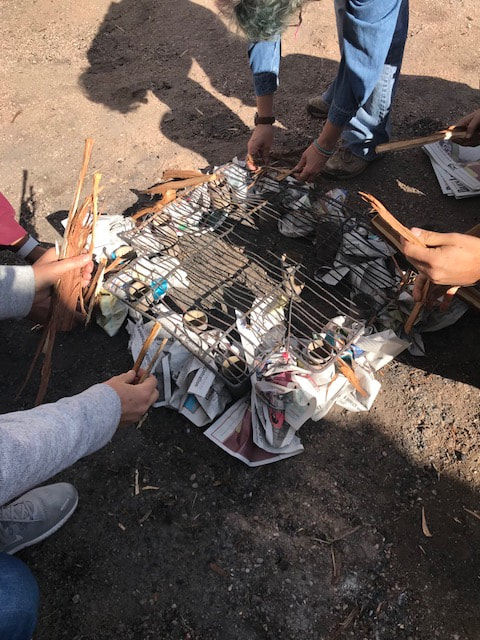
Surround outer edge with lightly crumpled newspaper, covered with kindling

cover tiles with metal cover
|

Lay tiles, face up over the metal grate
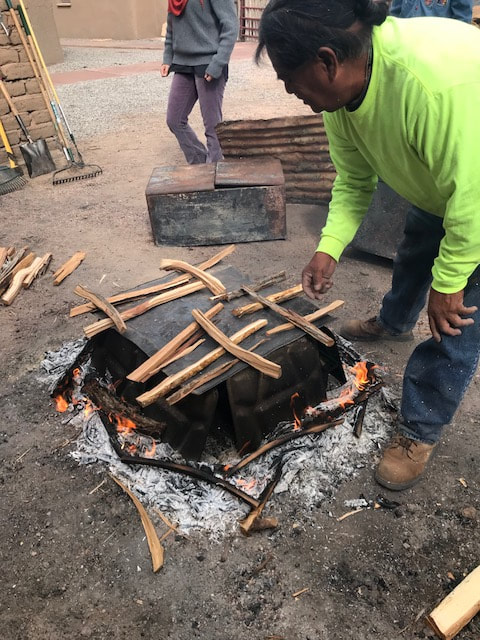
Put a light cover of kindling over top
|
Warm up tiles:Light the paper and keep flames from going directly under tiles.
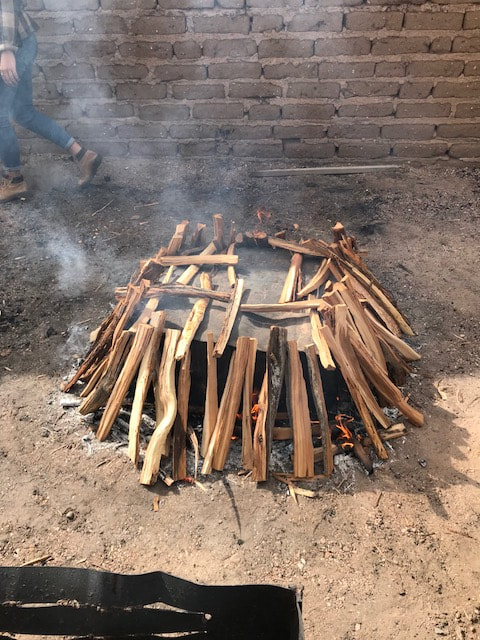
surround shield with kindling
Our tiles started to pop immediately they were covered on top and as the fire raged. Maybe they hadn't warmed up enough - got hot too soon or air pockets in clay from lack of needing. Or still damp from slip application.
|
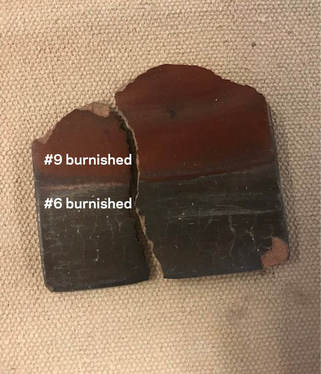
color test results:

|
|
|
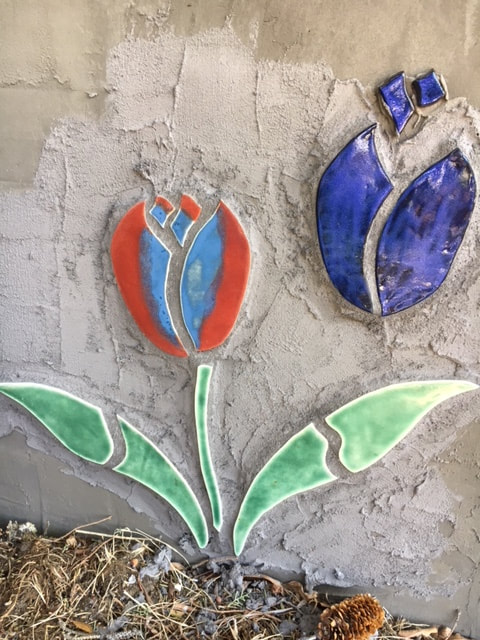
clay decoration
- Sketch ideas